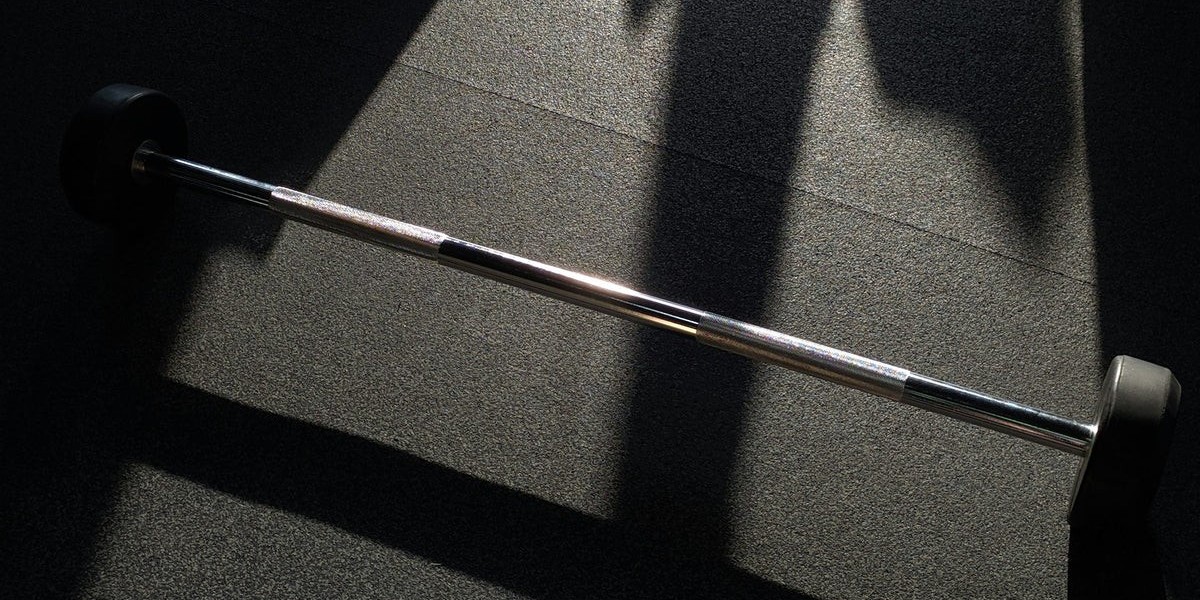
Creating a gym space—whether at home or in a commercial setting—starts with the right foundation. One of the most crucial and underrated aspects of gym setup is the flooring. Among the many options available, rubber gym flooring stands out as one of the best for durability, shock absorption, and safety. But to get the best performance out of it, you need to install it correctly. In this guide, we’ll walk you through how to install rubber gym flooring step-by-step, with expert tips and tricks for a flawless finish.
Why Choose Rubber Gym Flooring?
Before diving into the installation process, it's essential to understand why rubber gym flooring is such a popular choice:
- Shock Absorption: Protects joints and reduces fatigue.
- Durability: Withstands heavy weights, equipment, and foot traffic.
- Noise Reduction: Helps dampen sound from weights and cardio machines.
- Slip Resistance: Enhances safety during workouts.
- Easy Maintenance: Simple to clean and maintain over time.
If you're planning a fitness area that’s safe, long-lasting, and professional-looking, rubber flooring is a wise investment.
Types of Rubber Gym Flooring
Understanding the different types of rubber flooring helps you make an informed decision. Here are the most common formats:
- Rubber Tiles: Interlocking or straight-edge tiles are ideal for DIY installations.
- Rubber Rolls: Cover large areas quickly but may require adhesives and precise cuts.
- Rubber Mats: Great for spot coverage under heavy equipment or benches.
Each type has slightly different installation methods, but the principles generally remain the same.
Tools and Materials You'll Need
Before starting, gather all necessary tools and supplies to make the installation smooth and hassle-free:
- Measuring tape
- Utility knife with extra blades
- Chalk line
- Straight edge or ruler
- Double-sided flooring tape or adhesive (depending on flooring type)
- Rubber mallet (for interlocking tiles)
- Broom or vacuum
- Clean, dry mop
Step-by-Step Guide: How to Install Rubber Gym Flooring
Let’s now walk through how to install rubber gym flooring efficiently and effectively:
Step 1: Prepare the Subfloor
A clean and level subfloor is the key to a successful installation.
- Clean Thoroughly: Remove all dirt, dust, and debris using a vacuum and mop.
- Check for Moisture: Ensure the area is dry, especially if installing over concrete. Use a moisture barrier if needed.
- Level the Floor: Patch any holes or cracks. Uneven surfaces can cause rubber tiles or rolls to shift or warp.
Step 2: Measure and Plan the Layout
Good planning helps avoid mistakes and wastage.
- Measure the Area: Accurately calculate the square footage.
- Dry Layout First: Lay out a few tiles without adhesive to visualize the setup.
- Mark Centerlines: Use a chalk line to find the center of the room and plan your layout outward from there to ensure symmetry.
Step 3: Cut Rubber Tiles or Rolls to Fit
Whether you’re working with tiles or rolls, chances are you’ll need to cut pieces to fit edges or around obstacles.
- Use a Straight Edge: Guide your utility knife for clean, straight cuts.
- Score Multiple Times: Make several shallow passes rather than one deep cut to avoid slipping.
- Allow Expansion Room: Leave a small gap (about 1/8 inch) between the rubber and walls to allow for thermal expansion.
Step 4: Install the Flooring
Now the fun begins! Here’s how to install rubber gym flooring based on type:
For Interlocking Tiles:
- Start from the Center: Begin at the centerline and work outward.
- Snap Tiles Together: Align the tabs and press down. Use a rubber mallet to ensure a tight fit.
- Trim Edges as Needed: Fit the outer edges against the wall with trimmed pieces.
For Rubber Rolls:
- Lay Rolls Flat: Let the rolls acclimate to the room for 24 hours if possible.
- Apply Adhesive or Tape: Use double-sided tape around the edges or full glue for permanent installations.
- Roll and Press: Lay the roll in place and press down firmly to bond.
For Rubber Mats:
- Simply place mats where needed. For better grip, use double-sided tape underneath.
Step 5: Secure the Edges (Optional)
For added stability, especially in high-traffic or commercial gyms:
- Apply flooring tape along the seams and edges.
- Seal edges with a floor transition strip if adjoining another type of flooring.
- In extreme use areas, consider using a cold-weld seam sealer or edge adhesive.
Step 6: Clean and Inspect
Before you start lifting weights:
- Vacuum and Mop: Remove any installation debris.
- Inspect for Gaps or Bumps: Press down uneven areas or make additional cuts if necessary.
Congratulations—your gym is now ready for action!
Expert Tips for Best Results
- Acclimate the Rubber: Let your flooring adjust to room temperature before installation to reduce expansion or contraction later.
- Use Sharp Blades: Dull utility knives tear the rubber instead of cutting it cleanly.
- Check for Compatibility: If placing rubber over carpet, ensure it’s low-pile. High-pile carpet may cause instability.
- Go Modular: Choose interlocking tiles if you plan to move or reconfigure your space later.
- Clean as You Go: Dust and particles can interfere with adhesive bonding.
Where to Buy Quality Rubber Gym Flooring
For high-quality flooring that’s easy to install and built to last, check out Freedom Fitness Equipment. They offer a wide range of gym flooring solutions perfect for home and commercial use.
Explore their collection here:
https://freedomfitnessequipment.com/collections/gym-flooring-tiles
Final Thoughts
Installing rubber flooring may seem like a small detail, but it sets the stage for every workout. Whether you’re a casual lifter, CrossFit enthusiast, or professional gym owner, knowing how to install rubber gym flooring ensures your space is safe, durable, and visually appealing.
By following the steps and tips above, you can enjoy a clean, professional-quality gym environment that stands the test of time. So grab your tools, roll out your mats or tiles, and get ready to transform your workout space from the ground up!


