
A well-maintained fence is more than just a boundary marker—it enhances the curb appeal of your property, provides privacy, and protects your yard from external elements. One of the most effective ways to maintain and prolong the life of your fence is through fence staining. Unlike painting, staining penetrates the wood, providing protection from within while showcasing its natural beauty. In this guide, we’ll explore the importance of fence staining, the types of stains available, the step-by-step process, and tips for achieving professional results.
Why Fence Staining is Essential
Wood fences are exposed to harsh weather conditions year-round—sun, rain, snow, and wind. Over time, these elements can cause wood to warp, crack, fade, or rot. Fence staining acts as a protective barrier, shielding the wood from moisture and UV rays. While paint creates a layer on the surface, stain penetrates deeply into the wood fibers, allowing the fence to breathe while resisting water damage.
Additionally, staining enhances the natural grain and texture of the wood, giving your fence a rich and appealing appearance. Unlike paint, which can peel and require frequent touch-ups, stains typically last longer and are easier to maintain, making them a practical investment for homeowners.
Types of Fence Stains
When considering fence staining, it’s important to choose the right type of stain for your specific needs. Stains generally fall into three categories:
- Transparent Stains:
These allow the natural beauty and grain of the wood to shine through. Transparent stains provide minimal color but offer moderate protection. They are ideal for new fences where you want the natural wood look to remain prominent. - Semi-Transparent Stains:
Semi-transparent stains add a slight tint to the wood while still allowing the natural grain to show. They offer better UV protection than transparent stains and are excellent for fences that require both aesthetic appeal and durability. - Solid Stains:
Solid stains resemble paint but maintain the wood’s texture. They offer maximum protection against sun and moisture, making them suitable for older fences or fences that have been previously painted. Solid stains can mask imperfections and are highly durable.
Choosing the right stain depends on the level of protection needed, your aesthetic preferences, and the condition of your fence.
Preparing Your Fence for Staining
Proper preparation is key to successful fence staining. A fence that hasn’t been prepared correctly will not hold the stain well, leading to uneven coverage and premature fading. Here’s how to prepare your fence:
- Cleaning:
Begin by cleaning the fence to remove dirt, mildew, and old peeling stain or paint. A pressure washer is an effective tool, but be careful not to damage the wood with excessive pressure. For fences with mildew, use a mixture of water and mild detergent or specialized wood cleaner. - Sanding:
After cleaning, sanding the fence smooths rough patches and opens the wood pores, allowing the stain to penetrate evenly. Use medium-grit sandpaper and focus on areas where the wood has splintered or weathered. - Repairing:
Inspect your fence for damaged boards, loose nails, or broken panels. Repairing these issues before staining ensures a uniform finish and prevents further damage. - Drying:
Wood must be completely dry before applying any stain. Depending on weather conditions, drying may take a few hours to a day. Staining wet or damp wood can trap moisture, leading to mildew growth and uneven coloring.
Step-by-Step Fence Staining Process
Once your fence is prepared, it’s time to apply the stain. Follow these steps for the best results:
- Choose Your Tools:
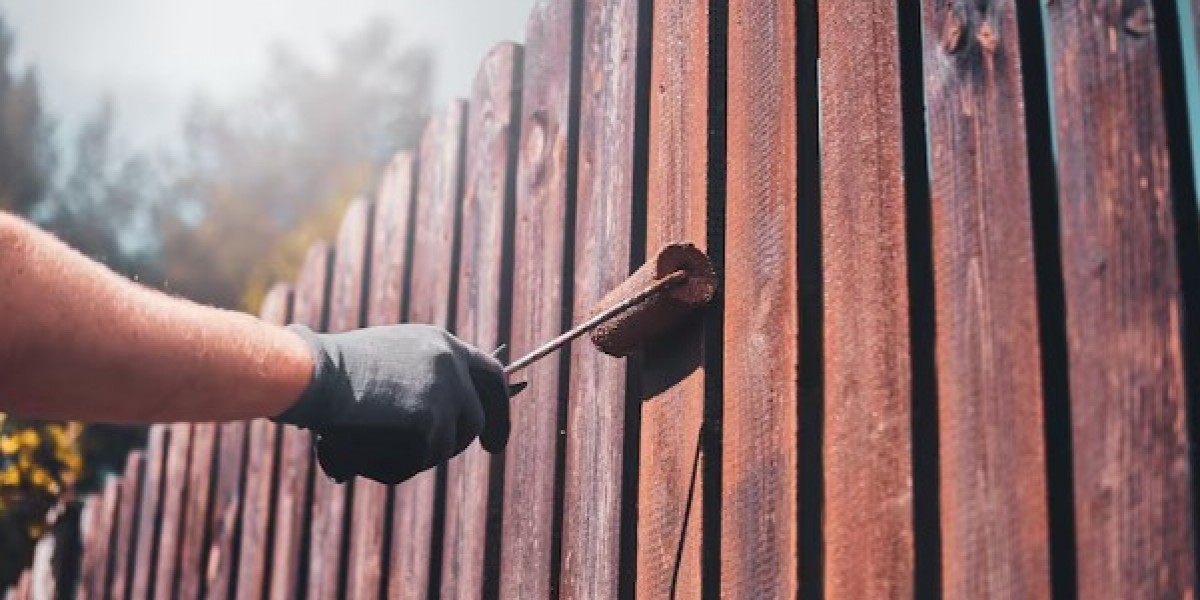
You can apply stain using a brush, roller, or sprayer. Brushes provide better control and help work the stain into the wood grain, while sprayers allow faster coverage, especially for large fences. A combination of both often yields the best results. - Test the Stain:
Before committing to the entire fence, test the stain on a small, inconspicuous area. This will help you gauge the color and ensure the wood absorbs it evenly. - Apply the Stain:
Start at one end of the fence and work systematically to the other end. Apply the stain along the wood grain and avoid over-applying, as excess stain can create a sticky surface. For vertical fences, work from top to bottom to prevent drips and streaks. - Multiple Coats:
Depending on the type of stain and desired color intensity, multiple coats may be necessary. Allow the first coat to dry completely before applying additional coats. Semi-transparent and solid stains usually benefit from a second coat for enhanced protection. - Drying and Curing:
After the final coat, allow the fence to dry fully. While the surface may feel dry within a few hours, full curing can take a couple of days. Avoid leaning objects against the fence or exposing it to heavy rain during this period.
Tips for Long-Lasting Fence Staining
To ensure your fence remains vibrant and protected for years, follow these tips:
- Regular Maintenance: Inspect your fence annually for signs of wear, such as fading or water damage. Spot-stain areas that need touch-ups to prevent more extensive damage.
- Choose Quality Products: Investing in high-quality stains and brushes or sprayers ensures better coverage, longer-lasting color, and stronger protection.
- Protect Surrounding Areas: Use drop cloths or tarps to protect plants, grass, and concrete surfaces from accidental stain splashes.
- Seasonal Timing: Staining is best done in dry weather with moderate temperatures. Avoid staining during rainy or extremely hot days to prevent uneven absorption and prolonged drying times.
Benefits of Hiring a Professional
While DIY fence staining is feasible, hiring a professional can save time and provide superior results. Professionals have the expertise, tools, and experience to handle large fences efficiently, ensure even application, and choose the best stain type for your wood. Additionally, they can address any underlying wood issues that might compromise the fence’s longevity.
Enhancing Curb Appeal with Fence Staining
A freshly stained fence not only protects your investment but also transforms the overall look of your yard. A rich, vibrant stain complements landscaping, highlights architectural elements, and increases the property’s aesthetic appeal. Whether you prefer a natural wood look or a tinted finish, fence staining is a simple yet effective way to boost your home’s exterior charm.
Conclusion
Fence staining is an essential aspect of fence maintenance that combines beauty, durability, and protection. By choosing the right stain, preparing your fence properly, and following the correct application process, you can extend the life of your fence, prevent damage from weather, and enhance the overall appearance of your outdoor space. Whether tackling the project yourself or hiring professionals, investing in fence staining ensures that your fence remains a sturdy and visually appealing feature for years to come.
A well-stained fence is more than just a boundary; it’s a statement of care, style, and attention to detail. Don’t wait for your fence to show signs of wear—embrace the benefits of fence staining today and enjoy a beautiful, long-lasting addition to your home.