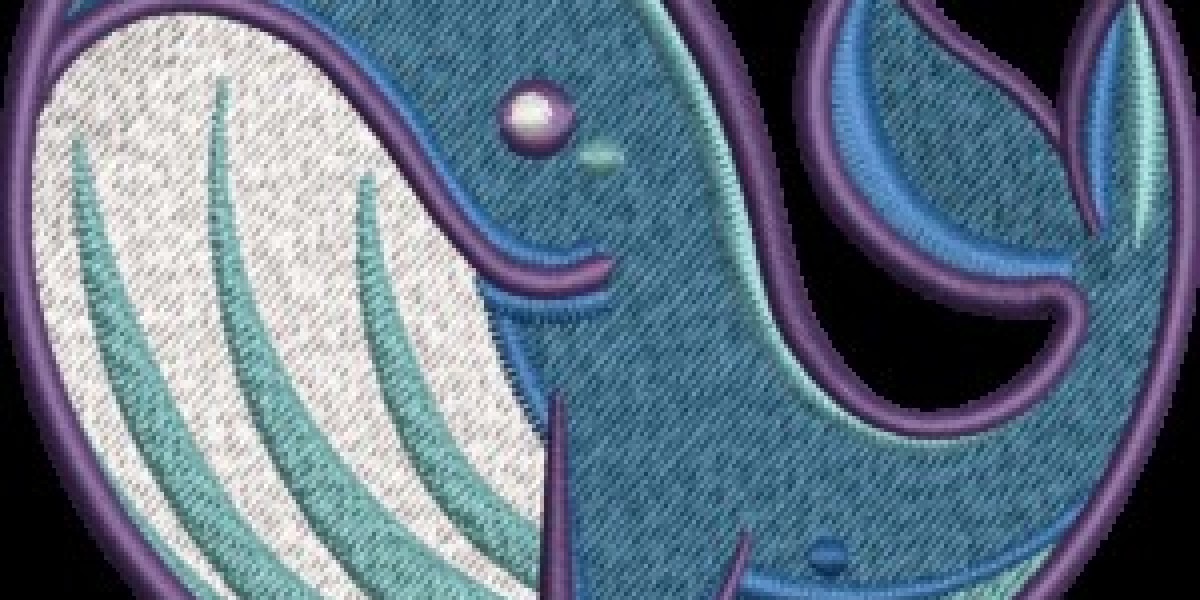
Converting an image into an embroidery file is one of the most crucial steps in creating professional embroidery designs. Whether you’re a hobbyist, small business owner, or working with a production company, understanding how to convert your artwork into a stitch-ready file ensures perfect embroidery results. In this blog, we’ll take you through the step-by-step process of how to convert image to embroidery file easily, so you can achieve accurate, detailed, and high-quality embroidered designs every time.
What Is an Embroidery File?
An embroidery file is a digital format that embroidery machines can read. Unlike standard image files (like JPG, PNG, or BMP), embroidery files contain specific instructions for the machine such as stitch type, direction, density, color order, and thread type.
Common embroidery file formats include:
.DST (Tajima)
.PES (Brother, Babylock)
.EXP (Melco)
.JEF (Janome)
.HUS (Husqvarna)
These formats guide the embroidery machine to replicate your design with perfect stitch placement.
Why You Need to Convert Images for Embroidery
Embroidery machines can’t interpret traditional image formats like JPEG or PNG. To embroider your design accurately, the artwork must be digitized a process that converts the image into stitch commands.
Digitizing ensures:
Smooth edges and proper detailing.
Correct stitch density and direction.
Alignment with fabric type and thread tension.
Optimized production speed and minimal thread breaks.
This makes digitizing services for embroidery essential for achieving precise, professional-quality designs.
Step-by-Step Process to Convert Image to Embroidery File
Step 1: Choose a High-Quality Image
Start with a clean, high-resolution image. Avoid blurry or low-contrast graphics, as they make digitizing difficult. Simple logos or illustrations work best for embroidery.
Tip: Images with fewer colors and clear outlines digitize more effectively.
Step 2: Open the Image in Digitizing Software
Use professional embroidery digitizing software such as:
Wilcom
Hatch
Brother PE-Design
Embird
SewArt
Import your image file (JPG, PNG, etc.) into the software to begin the conversion process.
Step 3: Adjust the Image Size and Placement
Before digitizing, resize and position the image according to your embroidery hoop size and fabric. Maintain proportions to avoid design distortion.
Note: Always ensure your image fits within your machine’s embroidery area.
Step 4: Set the Stitch Type and Pathing
Now, assign stitch types to different sections of your image. Common stitch types include:
Satin Stitch – for borders, text, and small details.
Fill Stitch – for large filled areas.
Running Stitch – for outlines and fine details.
Plan your stitch direction and sequence to reduce thread trims and ensure smooth movement.
Step 5: Choose Thread Colors and Density
Select thread colors that match your artwork. Digitizing software allows you to preview how colors will appear on fabric. Adjust stitch density to suit your material type heavier fabrics need lighter density, while thin fabrics may require underlay stitches for support.
Step 6: Preview and Simulate the Stitching
Run a stitch simulation in your software to visualize how the design will sew. This helps identify errors such as:
Overlapping stitches
Gaps between fills
Incorrect stitch direction
Fix any issues before saving your file.
Step 7: Save the File in the Correct Format
Once your design looks perfect, export it to the correct embroidery file format based on your machine brand — for example, .DST for Tajima or .PES for Brother.
It’s best to name your file clearly and keep a backup in case edits are needed later.
Step 8: Test Your Design (Sample Sew-Out)
Before full production, run a test embroidery on a similar piece of fabric. This helps verify stitch quality, alignment, and color accuracy.
If adjustments are needed, return to your software, make refinements, and re-test until the result is flawless.
Benefits of Using Professional Digitizing Services for Embroidery
While you can digitize on your own, working with professional digitizers ensures:
Expert stitch planning and path optimization.
Fabric-specific settings for better results.
Consistent quality across multiple designs.
Faster turnaround and minimal thread waste.
Professional services like Emdigitizing offer precision and reliability, ensuring your converted files perform perfectly on embroidery machines.
Common Mistakes to Avoid During Conversion
Avoid these pitfalls to ensure top-notch embroidery quality:
Using low-resolution or detailed images.
Overcomplicating designs with too many colors.
Ignoring stitch density or underlay requirements.
Skipping the test sew-out step.
Proper preparation guarantees that your embroidery designs are both durable and visually accurate.
Conclusion
Learning how to convert image to embroidery file gives you full control over your embroidery projects. From resizing your image to fine-tuning stitch types, each step contributes to creating precise, high-quality embroidery results. However, if you want guaranteed accuracy, working with experts like Emdigitizing ensures your designs are optimized for every fabric, thread, and machine type.
FAQs
Q1: Can I convert a PNG or JPG directly into an embroidery file?
No, embroidery machines require digitized files like DST or PES, not standard image formats.
Q2: What software is best for beginners?
SewArt and Hatch are beginner-friendly programs that simplify the digitizing process.
Q3: How much time does it take to digitize an image?
A simple logo can take 30–60 minutes, while complex designs may take several hours.
Q4: Do I need to test my embroidery design before production?
Yes, a sample sew-out helps ensure the final embroidery matches your expectations.
Q5: Where can I get affordable and accurate digitizing services?
Emdigitizing offers professional digitizing services with fast delivery, precise results, and affordable pricing.


