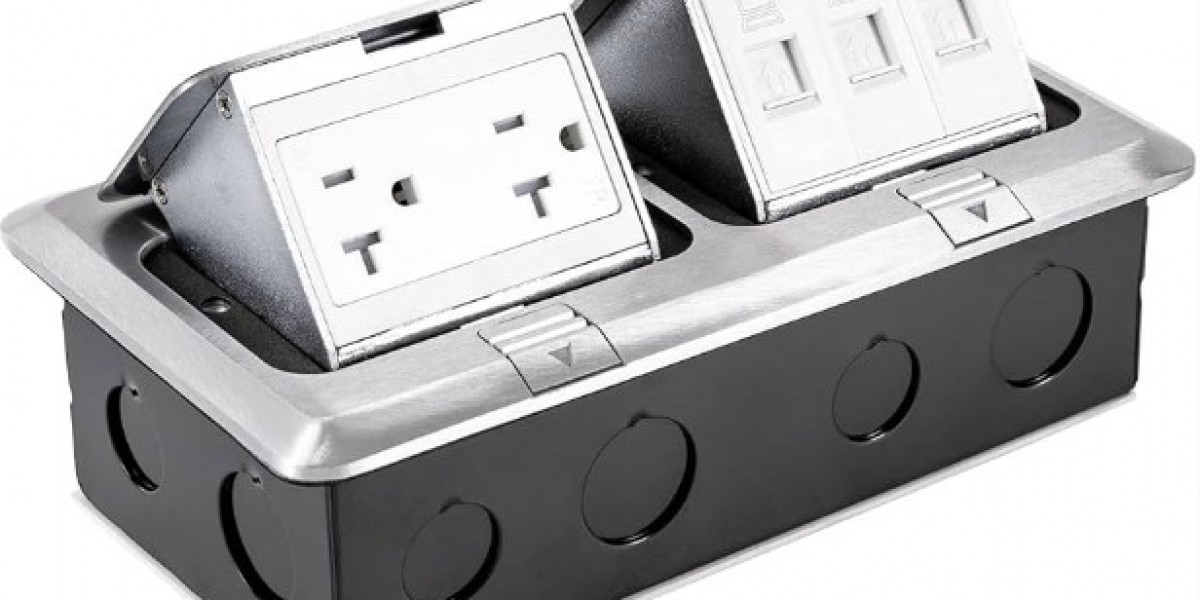
When tackling a renovation or upgrade project at home or on site many people overlook simple checks that matter. An Electrical Socket Box deserves careful thought during placement and wiring so the final result is safe, accessible and service friendly. Recent conversations about resilient living spaces and power interruptions have made installers and homeowners alike pay attention to how outlets are installed and maintained. Skipping a short checklist can turn a neat job into recurring maintenance and increase the chance of downtime when the property needs reliable supply.
One common mistake is poor siting. Positioning a box where cords must cross walkways or under furniture invites wear and tripping hazards. Plan routes so plugs and cables stay within task areas and use enclosures near the equipment they serve. In public or shared environments this reduces confusion and makes routine checks quicker for maintenance staff or visiting contractors.
Another frequent error is inadequate sealing and strain relief. Where cables enter a housing without proper glands, moisture and dust can migrate inside and attack contacts. Choose cable entry parts that match outer jacket sizes and check that gaskets compress evenly when the lid is closed. A moment spent on these items during installation prevents corrosion and cutting short service intervals.
A third pitfall is incorrect terminal tightening. Loose terminations cause heating at contact points and can lead to intermittent faults that are hard to trace. Follow torque guidance for screws and clamps and check them during initial commissioning and again after a short run. If a design allows replacing worn terminals do so rather than relying on temporary fixes that mask an underlying issue.
Labeling and documentation are often underestimated. Installing several boxes across a property without marking their roles creates guesswork during repairs and handovers. Add simple durable tags that show circuit purpose and any special handling notes. Keep a concise map in a utility area so anyone who needs to act quickly can find the right point without trial and error.
Insufficient clearance inside a housing is another source of trouble. Crowding cables and protective devices into a small volume raises the risk of abrasion and of thermal buildup. Leave room for a technician to access terminals and to remove a module if needed. That design choice speeds fault isolation and reduces the chance that routine service turns into an extended outage.
Choosing the wrong mounting method can make removal awkward and damage finishes. Use mounting plates and fixings that match the substrate and that keep the box flush where necessary. For mobile or event setups prefer reinforced attachments and quick release points so a unit can be moved without stressing cable entries.
Using mismatched parts from different suppliers increases complexity. If fasteners, gaskets and inlet plates use different tolerances, a later replacement may not fit correctly. Select components that belong to the same family or that use documented variant lists so spare parts are interchangeable. That approach shortens repair time when a part wears out and helps keep a small set of spares useful across installations.
Neglecting access for inspection is something teams regret later. Plan for periodic visual checks by placing boxes above low level clutter and adding removable panels for deeper access without full disassembly. An inspection friendly design means technicians can perform quick safety walks and confirm that seals remain intact and that terminals show no discoloration.
Finally, wiring practices and safety measures must be followed. Isolate circuits before touching internal parts and use insulated tools during adjustments. If local rules require an authorized electrician for certain tasks, include that requirement in procurement and operational plans. Training the person who will perform routine checks reduces the risk of accidental contact and improves the odds that small issues are caught before they develop into faults.
When selecting a supplier consider how they document installations and whether they provide clear spare part numbering. A manufacturer that supplies images, part lists and simple service notes helps planners assemble a compact spare kit and reduces time spent sourcing replacements during maintenance windows. That practical detail matters when teams maintain multiple sites or run shared spaces with frequent use.
If you are preparing an installation or reviewing existing boxes take a moment to walk the route a cable will follow, check sealing points, confirm torque on terminals and add clear labels. Small steps during initial work make inspections easier later and reduce the chance of interruptions when a property needs steady power.
To view examples of enclosures, inlet options and spare part guides that help you plan a tidy and serviceable installation see model pages and accessory lists at www.nante.com/product/ . The resources show visual guides and component notes that help install teams choose compatible parts. They also include suggestions for spare kits and mounting methods that support straightforward upkeep so boxes remain functional and accessible across seasons and usages.


